SD Card Driver Development on COFILOS
Last year I completed a major milestone for COFILOS and the Perseus board. I completed a fully TDD written SD Card Driver.
You may check the following video: COFILOS SD Card
I was a big pain to write it, even though I had guide code from the internet and enough relevant information. The outcome is a very readable and organized code.
The initialization phase is very complex (and took the lion’s share of time to implement) is shown here:
/*!
* \brief Device Start (Stub)
* @param pstDriver_ : Pointer to Device structure
* @return 0 (SUCCESS), 1: Fail (Could not open SPI driver)
*/
BOOL f_DriverSD_Start(void *pstDriver_ )
{
type_stDRIVERSD *pst_SD;
INT8U v_error;
INT8U v_PhysDevID;
BOOL v_retval;

pst_SD = (type_stDRIVERSD *) pstDriver_;

if (pst_SD->stDriver.eState != DRIVER_CLOSE) return 1;
if (pst_SD->f_HAL_HookCardPresent == NULL) return 1;
if (pst_SD->f_HAL_HookCardPresent() == 0) return 255;

v_retval = 1; /* default is failure */

f_DriverSDHelper_InitSPI(pst_SD);

f_DriverCoFILOS_Open((PINT8) "SPI.Driver", 0xFF, (DRIVER_STRUCT *) &pst_SD->st_SPI);

Driver_Start((DRIVER_STRUCT *) &pst_SD->st_SPI);

/* Acquire Mutex, we need uninterrupted SPI access */
Driver_Control((DRIVER_STRUCT *) &pst_SD->st_SPI, CMD_SET_SPIMUTEX_ON, NULL);

f_DriverSDHelper_ResetSD(pst_SD);

/* set default value for Unknown Card Type */
/* Assuming initially that all is good */
v_PhysDevID = pst_SD->v_PhyVolumeID;
st_SDPhysical[v_PhysDevID].v_UnknownCard = eSDUn_None;
pst_SD->v_CardType = eSDCardUnknown;

/* set CS, clocked */
f_DriverSDHelper_SelectDevice(pst_SD);

v_error = f_DriverSDHelper_SendCMD0(pst_SD);
if (v_error == 0xFE)
{
  /* Unknown Card */
  /* TODO: Unknown Card */
  f_DriverSDHelper_UnknownDevice(pst_SD->v_PhyVolumeID, eSDUn_CMD0);
}
else
{
  v_error = f_DriverSDHelper_SendCMD8(pst_SD);

  if (v_error == 0) /* SDV2 Byte or Block */
  {
    v_error = f_DriverSDHelper_SendACMD41(pst_SD, 0x40000000);
    v_error = f_DriverSDHelper_SendCMD58(pst_SD);

    if (pst_SD->v_CardType == eSDCardSDv2Byte)
    {
      v_error = f_DriverSDHelper_SendCMD16(pst_SD);
      st_SDPhysical[v_PhysDevID].v_CardType = eSDCardSDv2Byte;
    }
    else
    {
      st_SDPhysical[v_PhysDevID].v_CardType = eSDCardSDv2Block;
    }
  }
  else if (v_error == 0xFE) /* SDv1 or MMCv3 or Unknown ? */
 {
   st_SDPhysical[v_PhysDevID].v_CardType = eSDCardSDv1;
   v_error = f_DriverSDHelper_SendACMD41(pst_SD, 0x00000000);
   if (v_error != 0)
   {
     /* MMCv3 ? */
     v_error = f_DriverSDHelper_SendCMD1(pst_SD);
     if (v_error == 0)
    {
      st_SDPhysical[v_PhysDevID].v_CardType = eSDCardMMCv3;
    }
    else
    {
      f_DriverSDHelper_UnknownDevice(pst_SD->v_PhyVolumeID, eSDUn_CMD1);
    }
   }

   if (v_error == 0)
   {
     v_error = f_DriverSDHelper_SendCMD16(pst_SD);
   }
  }
  else
  {
    /* Unknown card */
    f_DriverSDHelper_UnknownDevice(pst_SD->v_PhyVolumeID, eSDUn_CMD8);
  }
}

/* if Card is SDv1 or better then acquire CSD/CID */
switch(st_SDPhysical[v_PhysDevID].v_CardType)
{
   case eSDCardSDv1:
   case eSDCardSDv2Block:
   case eSDCardSDv2Byte:
     f_DriverSDHelper_SendCMD9(pst_SD);
     f_DriverSDHelper_SendCMD10(pst_SD);
     break;
  default:;
}

/* Deassert CS, clocked */
f_DriverSDHelper_DeSelectDevice(pst_SD);

/* Release Mutex, finished exclusive SPI access */
Driver_Control((DRIVER_STRUCT *) &pst_SD->st_SPI, CMD_SET_SPIMUTEX_OFF, NULL);

if (st_SDPhysical[v_PhysDevID].v_CardType == eSDCardUnknown)
{
  v_retval = 1;
}
else
{
  st_SDPhysical[v_PhysDevID].v_DriverState = eSD_Started;
  v_retval = 0;
  pst_SD->st_SPI.v_ConfigReg = 0xA002; /* increase clock to 24MHz */
}
st_SDPhysical[v_PhysDevID].v_OpenCnt = 0;

return v_retval;

}
After completing the TDD phase on my host (PC) I needed to run my tests on the actual target (ColdFire) microcontroller.
In the next picture you may see the hardware setup along with my programmer. I used a micro-SD of 8GB from Kingston for test.

I had already captured the sectors (and image) of the SD card and saved them on my hard-drive. I wanted to be able to compare what the microcontroller would read with the actual data stored.
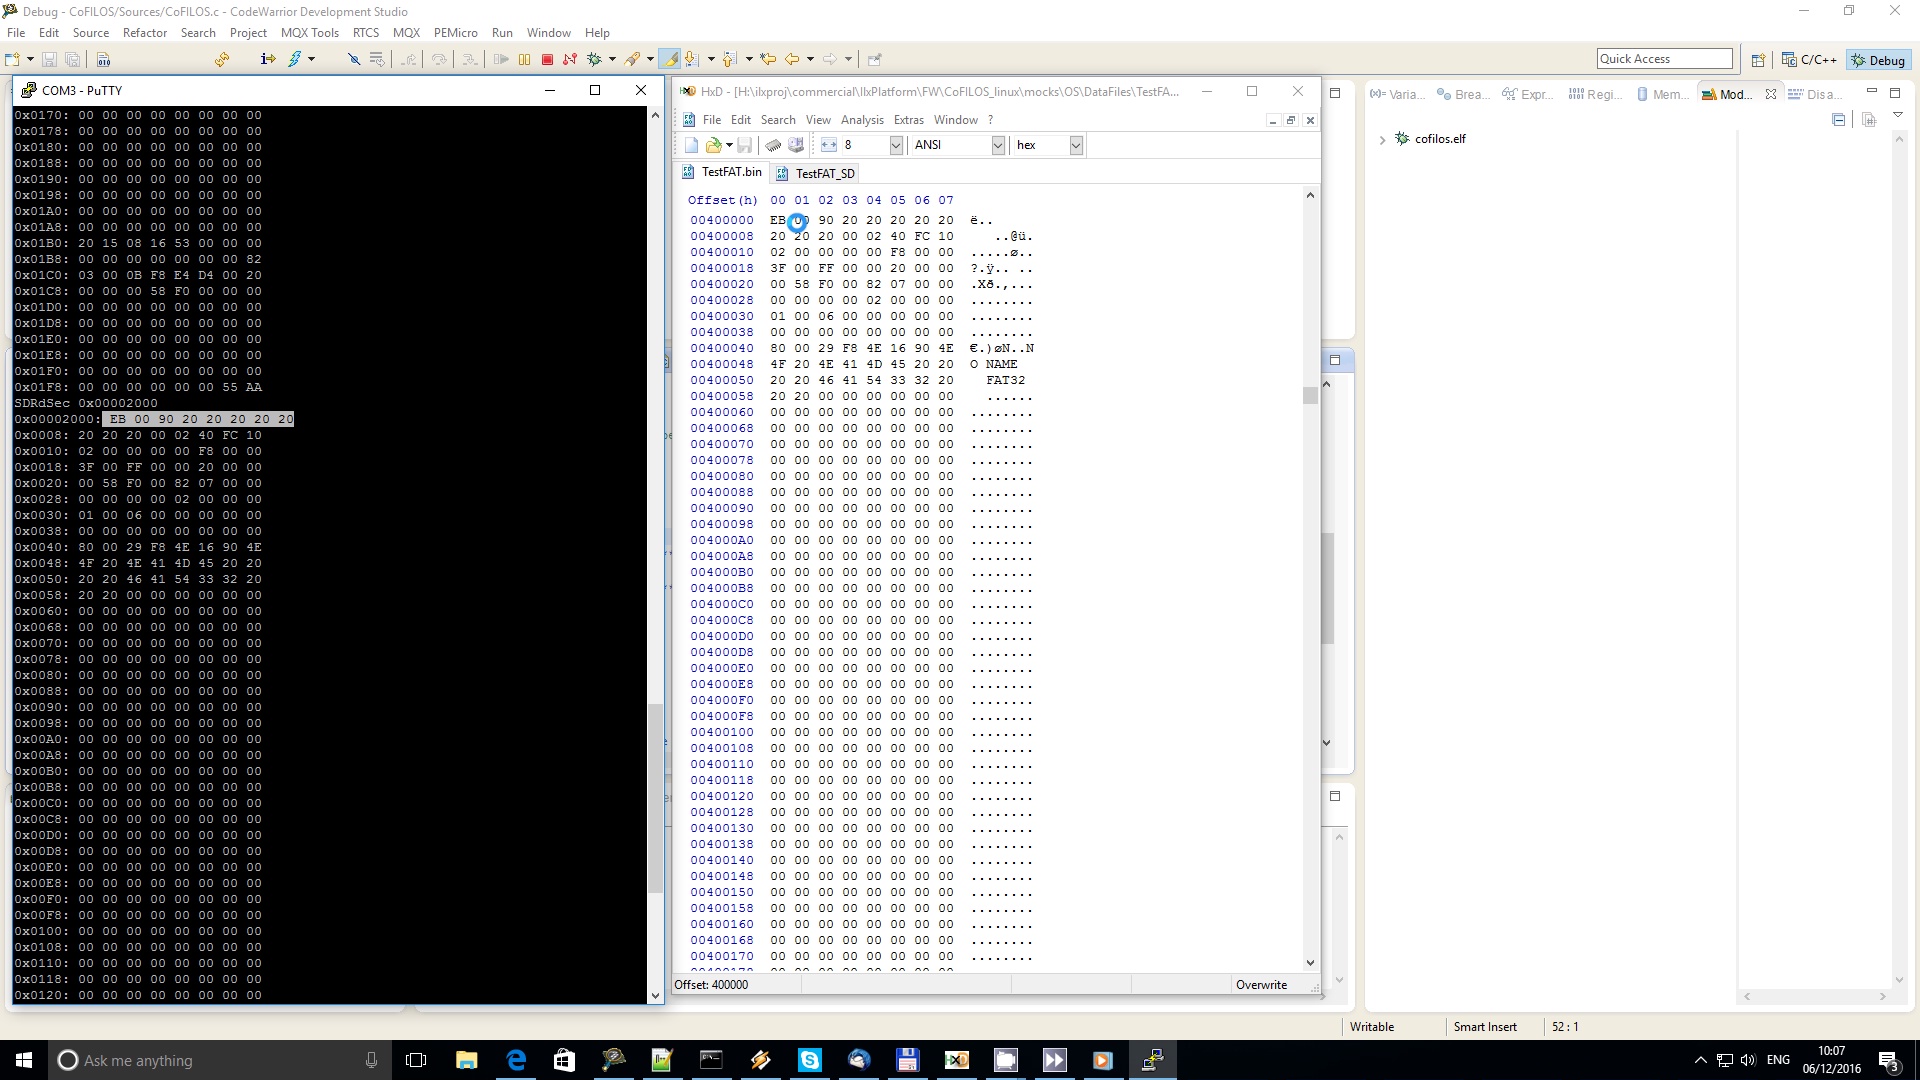
After having my target run the code, I opened a PuTTY terminal to connect with my virtual COM on my target. Then through the CLI (Command Line Interpreter) I mounted the SD card. I issued the SDInfo command and the data provided the SD card “geometry”.

I then read sector zero (or MBR for FAT file system). I compared the data with the image capture to confirm reading of the same piece of information.

The first FAT sector (0x2000) was also read and verified. I had to check it as I needed to run a FAT File System Handler to read the SD Card at a later stage (not very later, though).
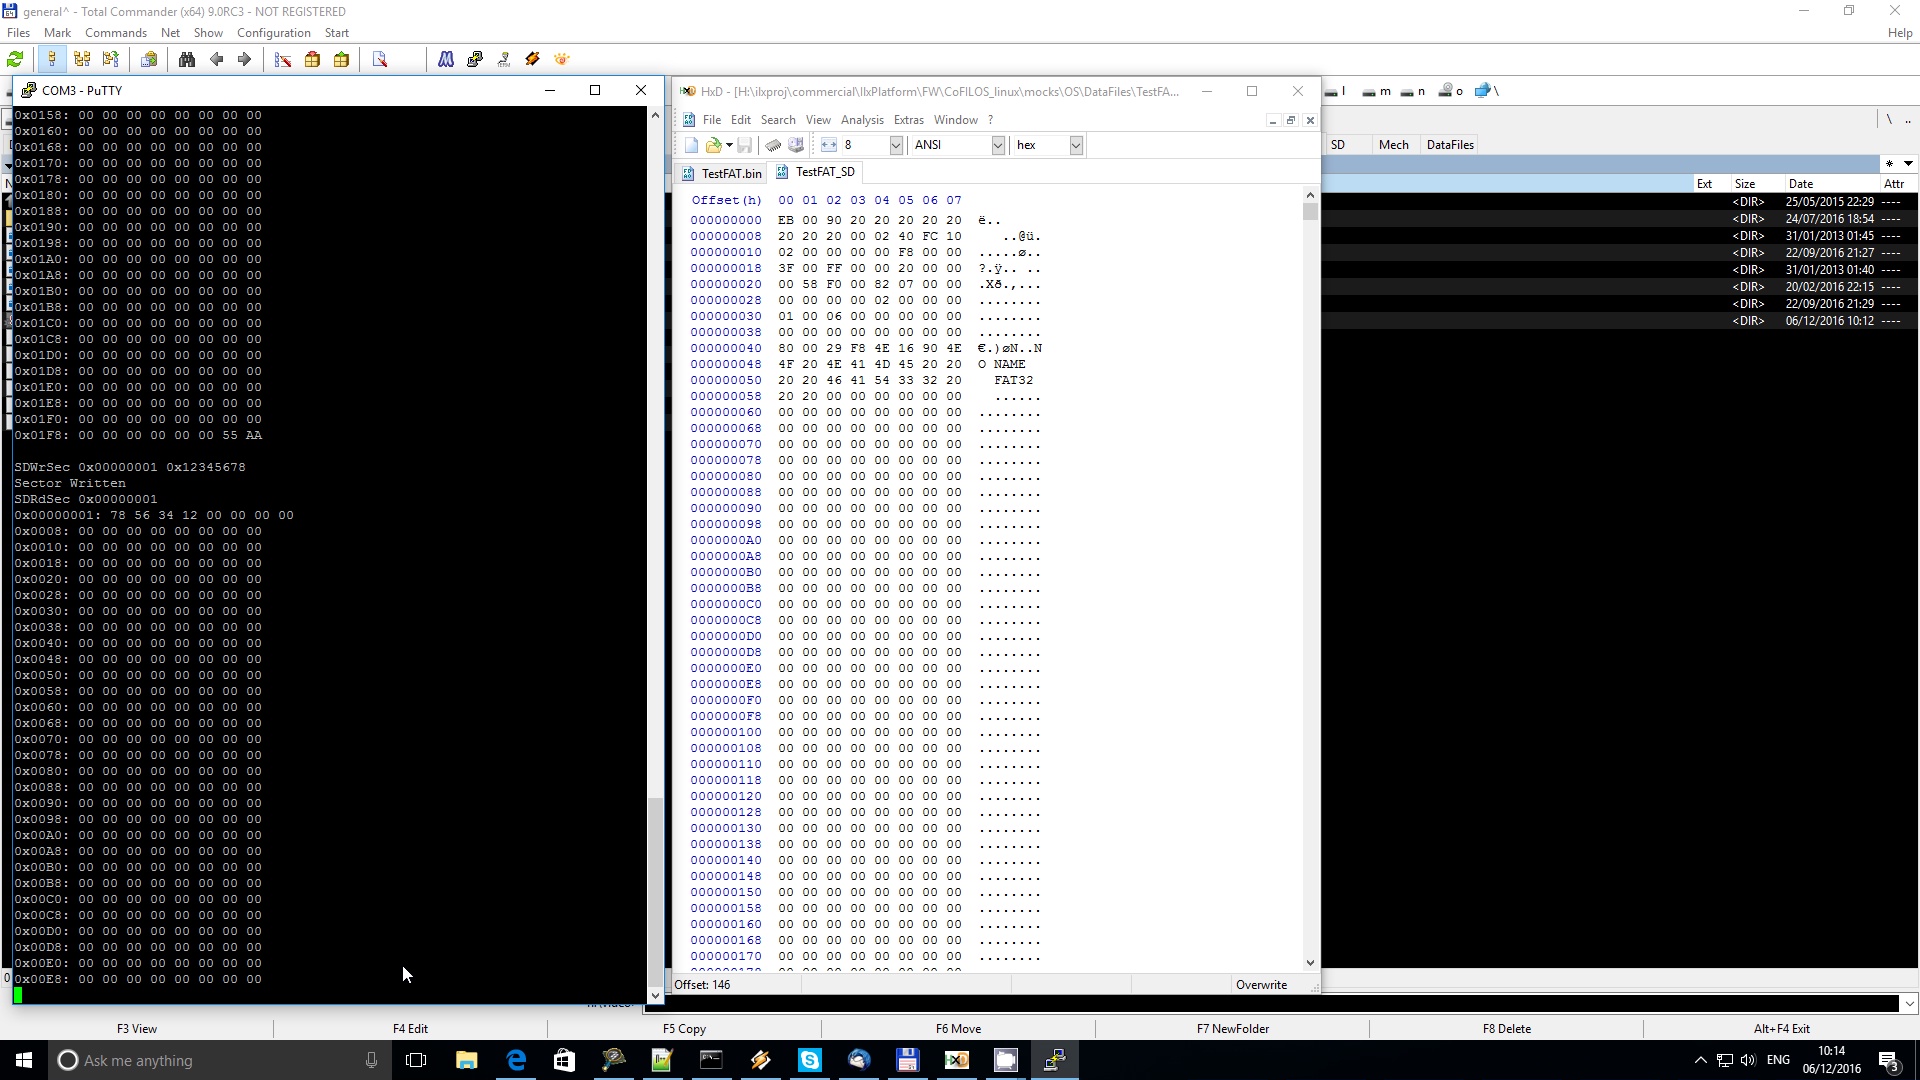
Then the write tests started. My write command in CLI supports a single 32-bit value write currently. This is sufficient at the moment to verify a sector write operation. So I used sector 1 which is unused to write the value 0x1234567

Next a read on sector 1 is performed to check that the sector was written. And voila! Notice the Big-Endian write (0x78 at byte 0, instead of 0x12).
At the same time during debugging I used my Tektronix TDS3012B Digital Oscilloscope and a Python script to capture and decode the SD SPI data.

The script outputs also a VCD format file suitable for use with GTKWave. Thus I could see and analyse the data, both analog and digital.

Due to the TDD methods used the debugging phase on the target was very fast. With a few iterations and the help of the scope and the Python scripting tool the SD card driver worked well.